How to Record Yourself on Zoom
In this article
Recording yourself on Zoom is a powerful feature that allows you to create video content, practice presentations, or document important discussions. Whether you're preparing training materials or wanting to review your own performance, Zoom's built-in recording functionality makes the process straightforward.
This tutorial will walk you through the complete process of setting up a personal meeting, configuring your audio and video settings, and successfully recording yourself using Zoom's native tools.
Here's how to record yourself on zoom in Zoom
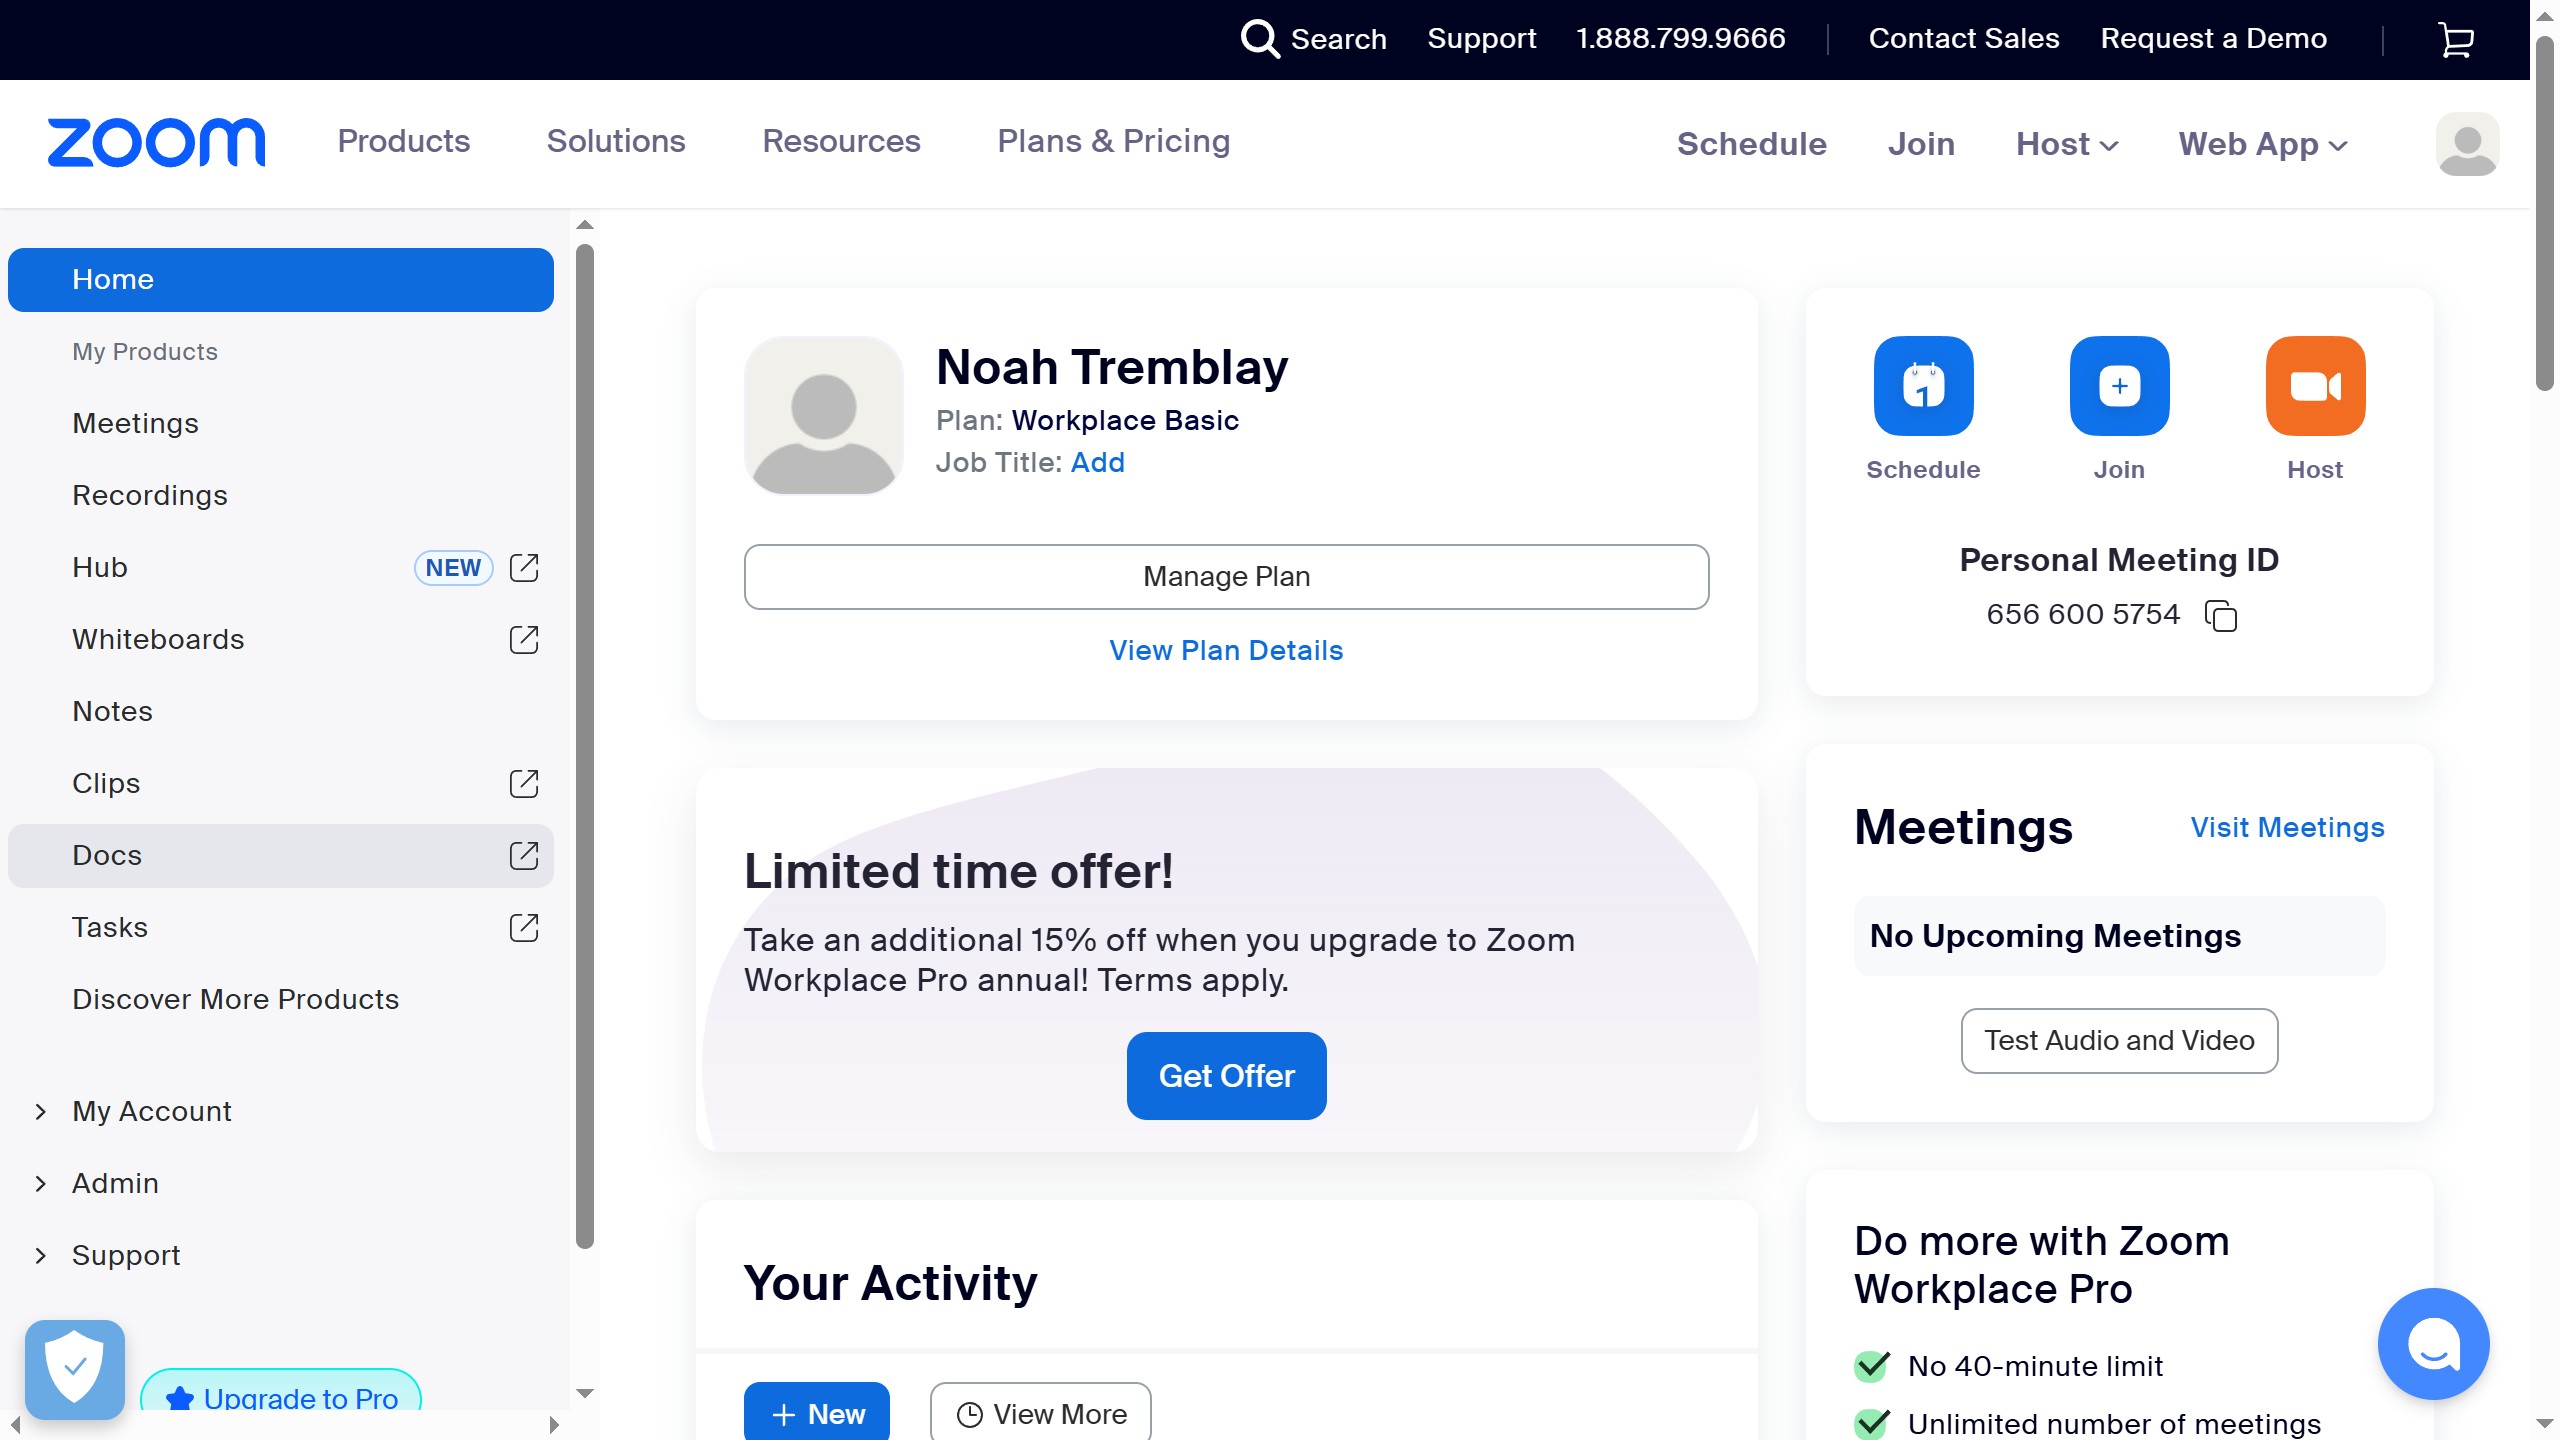
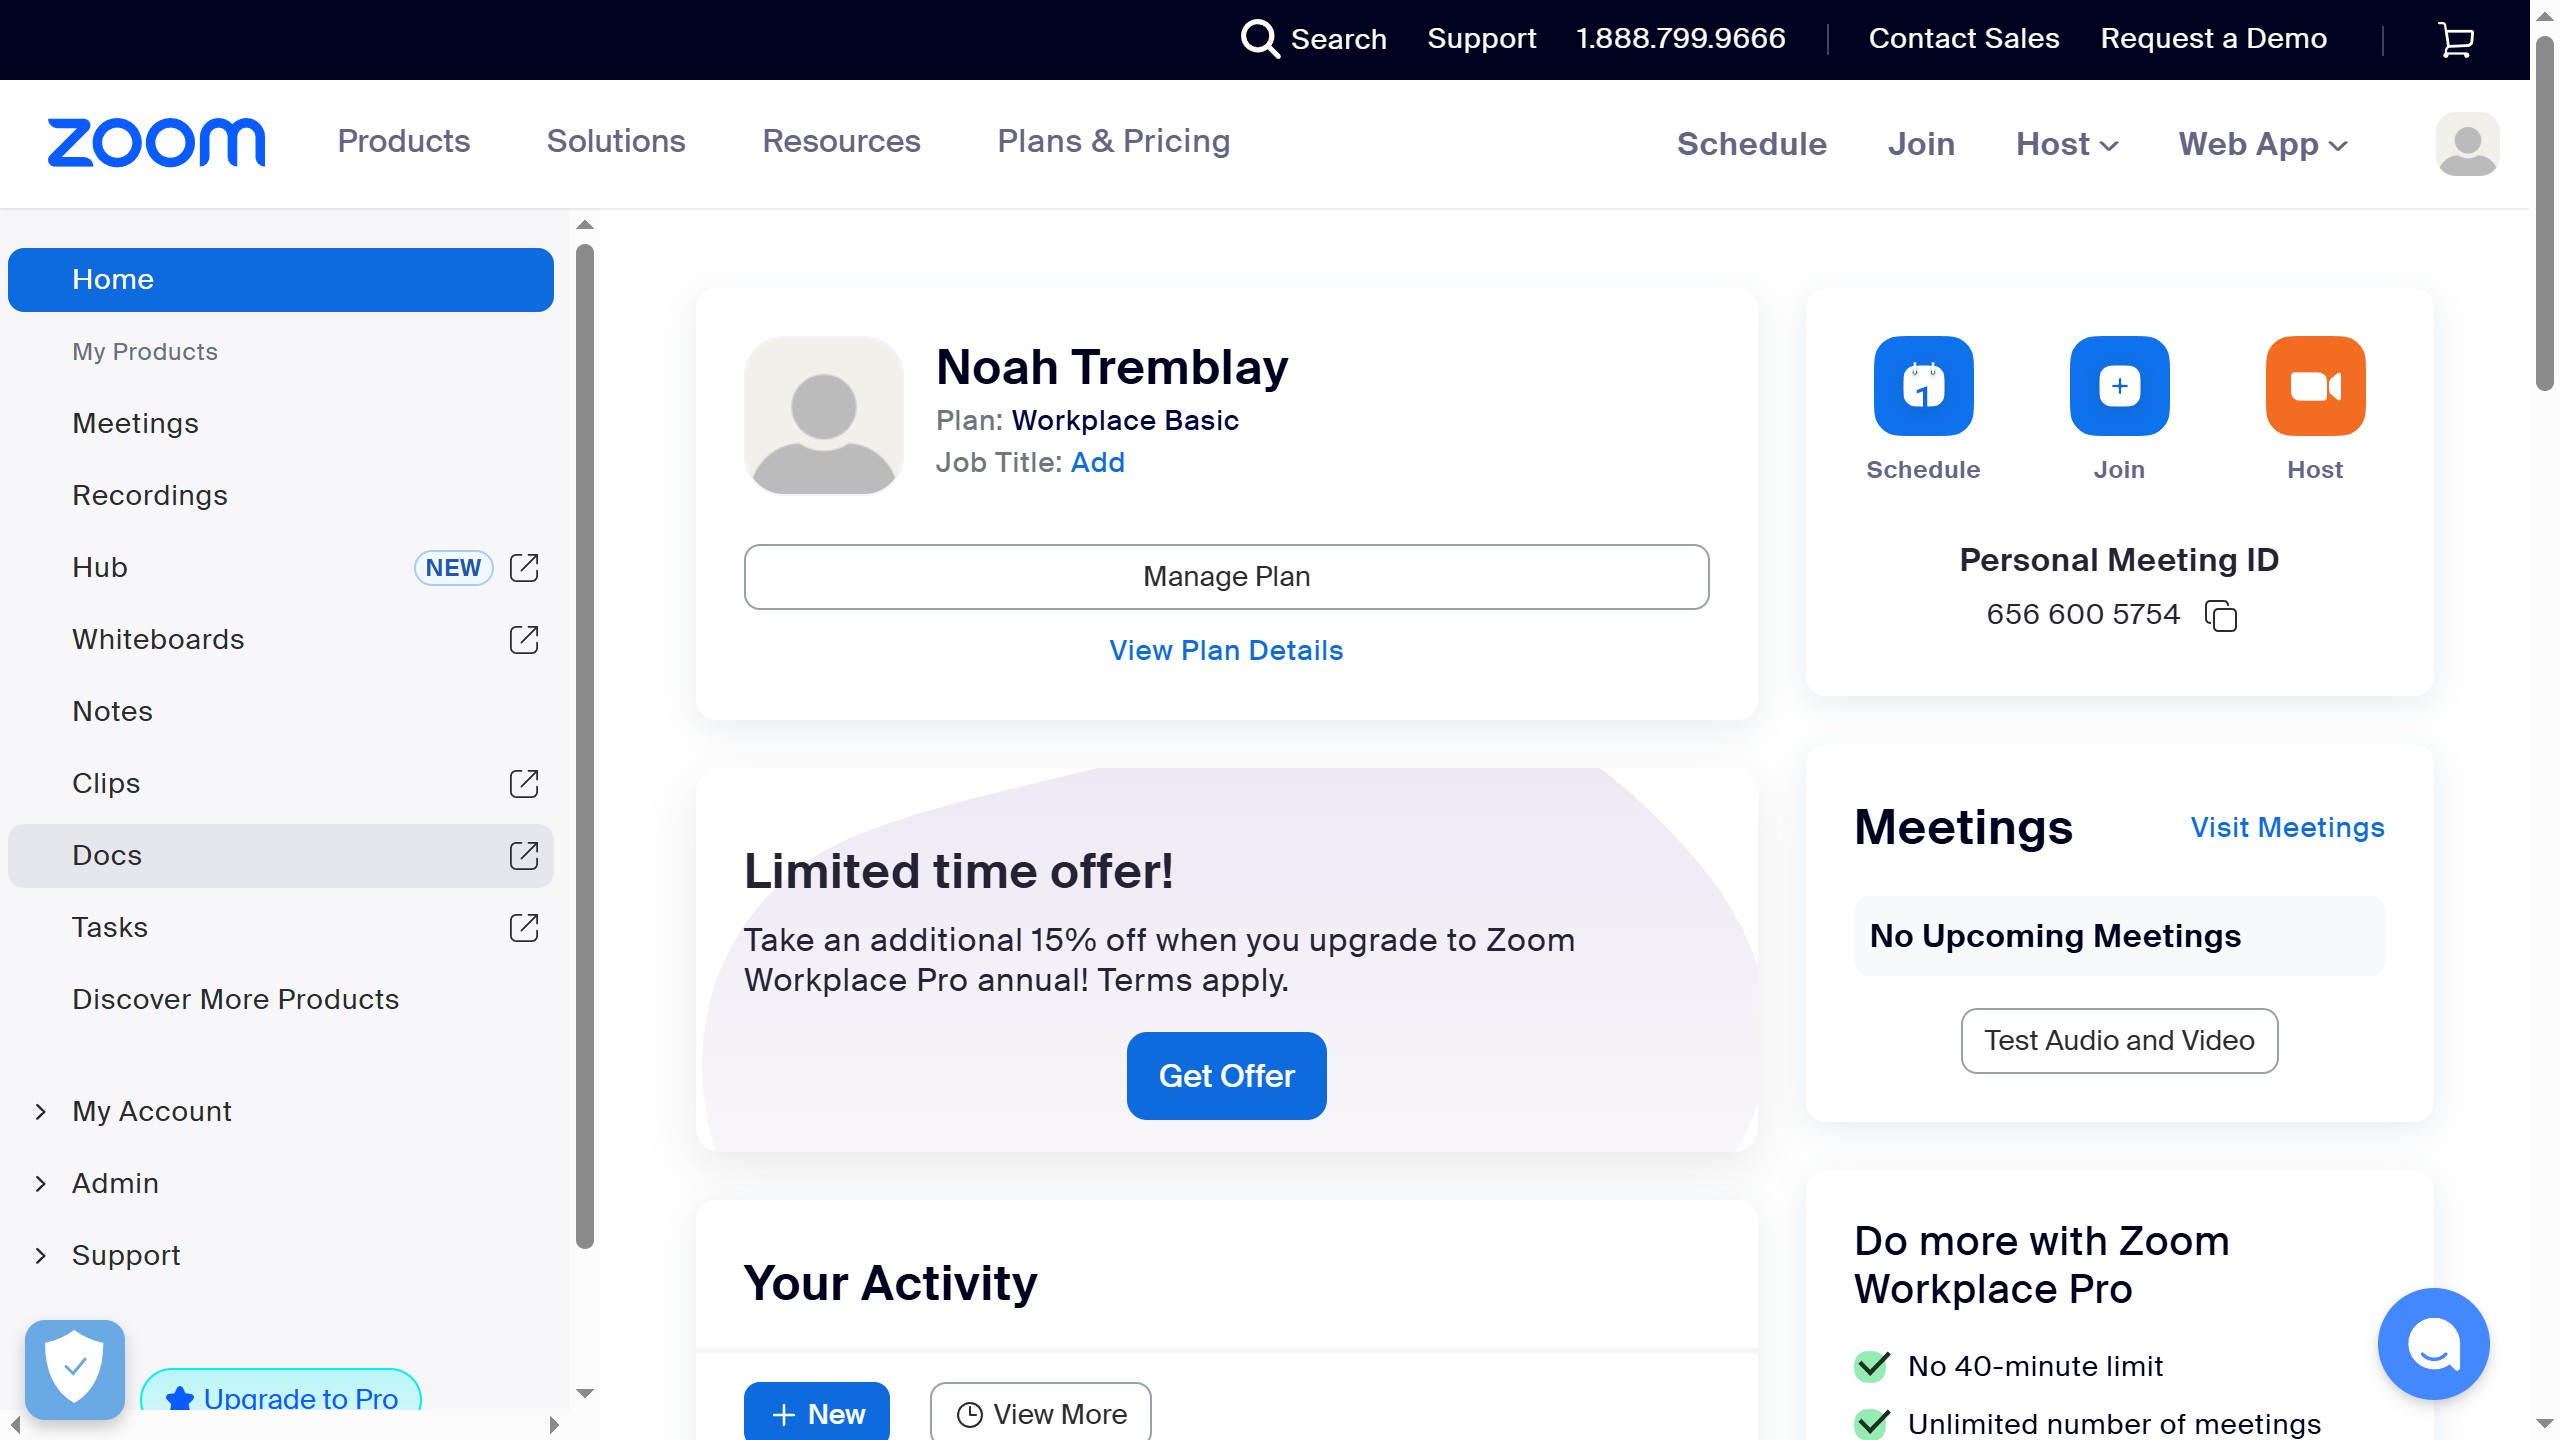
- Launch a new meeting by clicking 'New Meeting' on Zoom's main dashboard.
- Select 'Join Audio By Computer' to connect your microphone and speakers.
- Enable your camera by clicking the 'Video' button located in the bottom-left area.
- Start the recording process by clicking the 'Record' button.
- Begin speaking or presenting your content while the recording is active.
- End the recording by clicking 'Pause/Stop Recording' when finished.
- Access your recorded video by navigating to the 'Meetings' tab and filtering by 'Recorded'.
Your turn to show how it works.
Build a walkthrough of your product with Saltfish, then share it with your customers.
Frequently Asked Questions
Local recordings are automatically saved to your computer in the Zoom folder, typically found in your Documents. You can also access them through the Zoom app by going to the Meetings tab and selecting the Recorded filter to view all your saved recordings.
 Zoom
Zoom