How to Add the Due Date Column to Tasks in Zoom
In this article
This guide will show you how to add the 'Due date' column to your tasks list in Zoom. Displaying due dates can help you keep track of your task deadlines directly within the Zoom interface.
Explore more Zoom tutorials with interactive Saltfish walkthroughs.
Here's how to add the due date column to tasks in Zoom
- Access Zoom Tasks
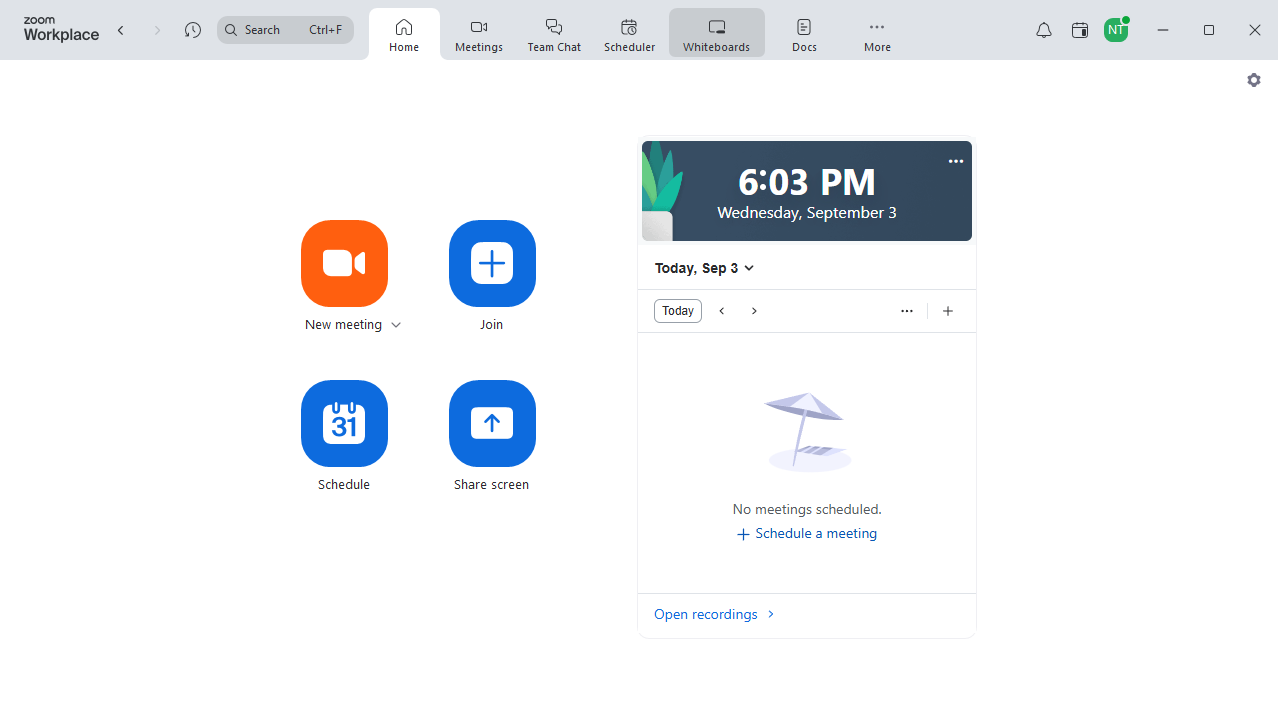
Navigate to the Tasks section from your Zoom homepage. This is the starting point for managing your tasks.
- View Your Tasks
Select "My tasks" from the task list panel. This will display your personal task list where you can customize column visibility.
- Open Column Settings
Click the settings icon, usually found in the top-right corner of the task list. This opens a panel where you can choose which columns to display.
- Enable Due Date Column
Locate the "Due date" option in the settings panel and toggle its switch to the 'on' position. This action prepares the column for display.
- Confirm Changes
Click the "Confirm" button within the column settings panel. This saves your selection and updates your task list to show the new "Due date" column.
- Verify Due Date Column
After confirming, check your "My tasks" list to ensure the "Due date" column is now visible, displaying the respective dates for your tasks.
Your turn to show how it works.
Build a walkthrough of your product with Saltfish, then share it with your customers.
Frequently Asked Questions
The 'Tasks' option is located in the left-hand navigation sidebar on your Zoom homepage, usually near other personal menu items like Meetings and Recordings.

 Zoom