How to Add a Template to a Whiteboard in Zoom
In this article
Learn how to quickly add a pre-designed template to your Zoom whiteboard. Templates can help you structure your ideas for brainstorming sessions, meeting notes, and more.
Explore more Zoom tutorials with interactive Saltfish walkthroughs.
Here's how to add a template to a whiteboard in Zoom
- Access Whiteboards
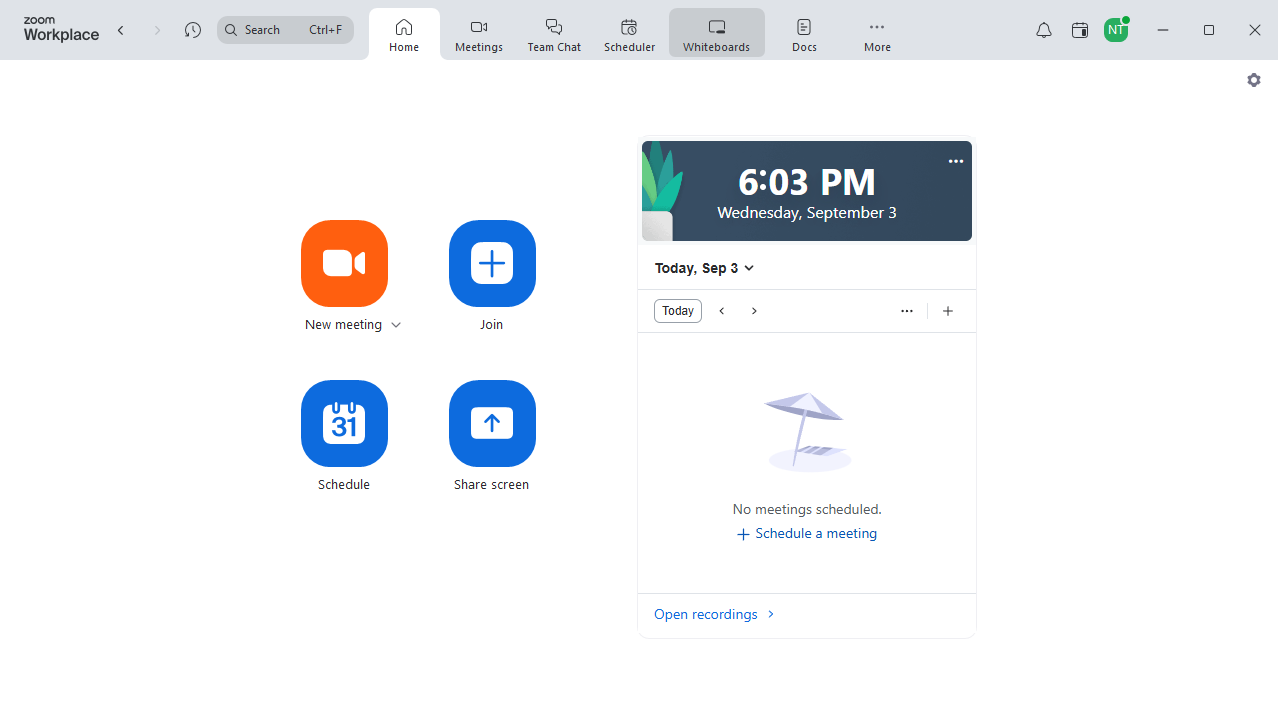
To begin, navigate to the Zoom Workplace home screen and click on the 'Whiteboards' tab located in the top navigation menu. This will take you to your whiteboard overview.
- View All Templates
On the 'All whiteboards' screen, locate the 'Templates' section and click the 'All templates' link. This action will open a comprehensive library of available whiteboard templates.
- Select a Template
Browse through the various template cards presented in the modal window. Click on the template that best suits your needs or the purpose of your whiteboard session.
- Apply the Template
After selecting a template, a preview will appear. To confirm your choice and add the template to your whiteboard, click the 'Use template' button.
- Verify Template Application
Once the template is applied, you will be redirected to your whiteboard, which now includes the chosen template. You can now start collaborating and adding content.
Your turn to show how it works.
Build a walkthrough of your product with Saltfish, then share it with your customers.
Frequently Asked Questions
The templates cover various categories such as Brainstorm Session, Flowchart Diagram, Meeting Notes, 8 Seed Bracket, Meeting Reflection, and Meeting Workshop, among others.

 Zoom