
How to Add a Column to a Table in Zoom Docs
In this article
This guide will show you how to add a new column to an existing table within a Zoom Doc. Follow these steps to expand your table's structure.
Explore more Zoom tutorials with interactive Saltfish walkthroughs.
Here's how to add a column to a table in Zoom
- Navigate to Zoom Docs
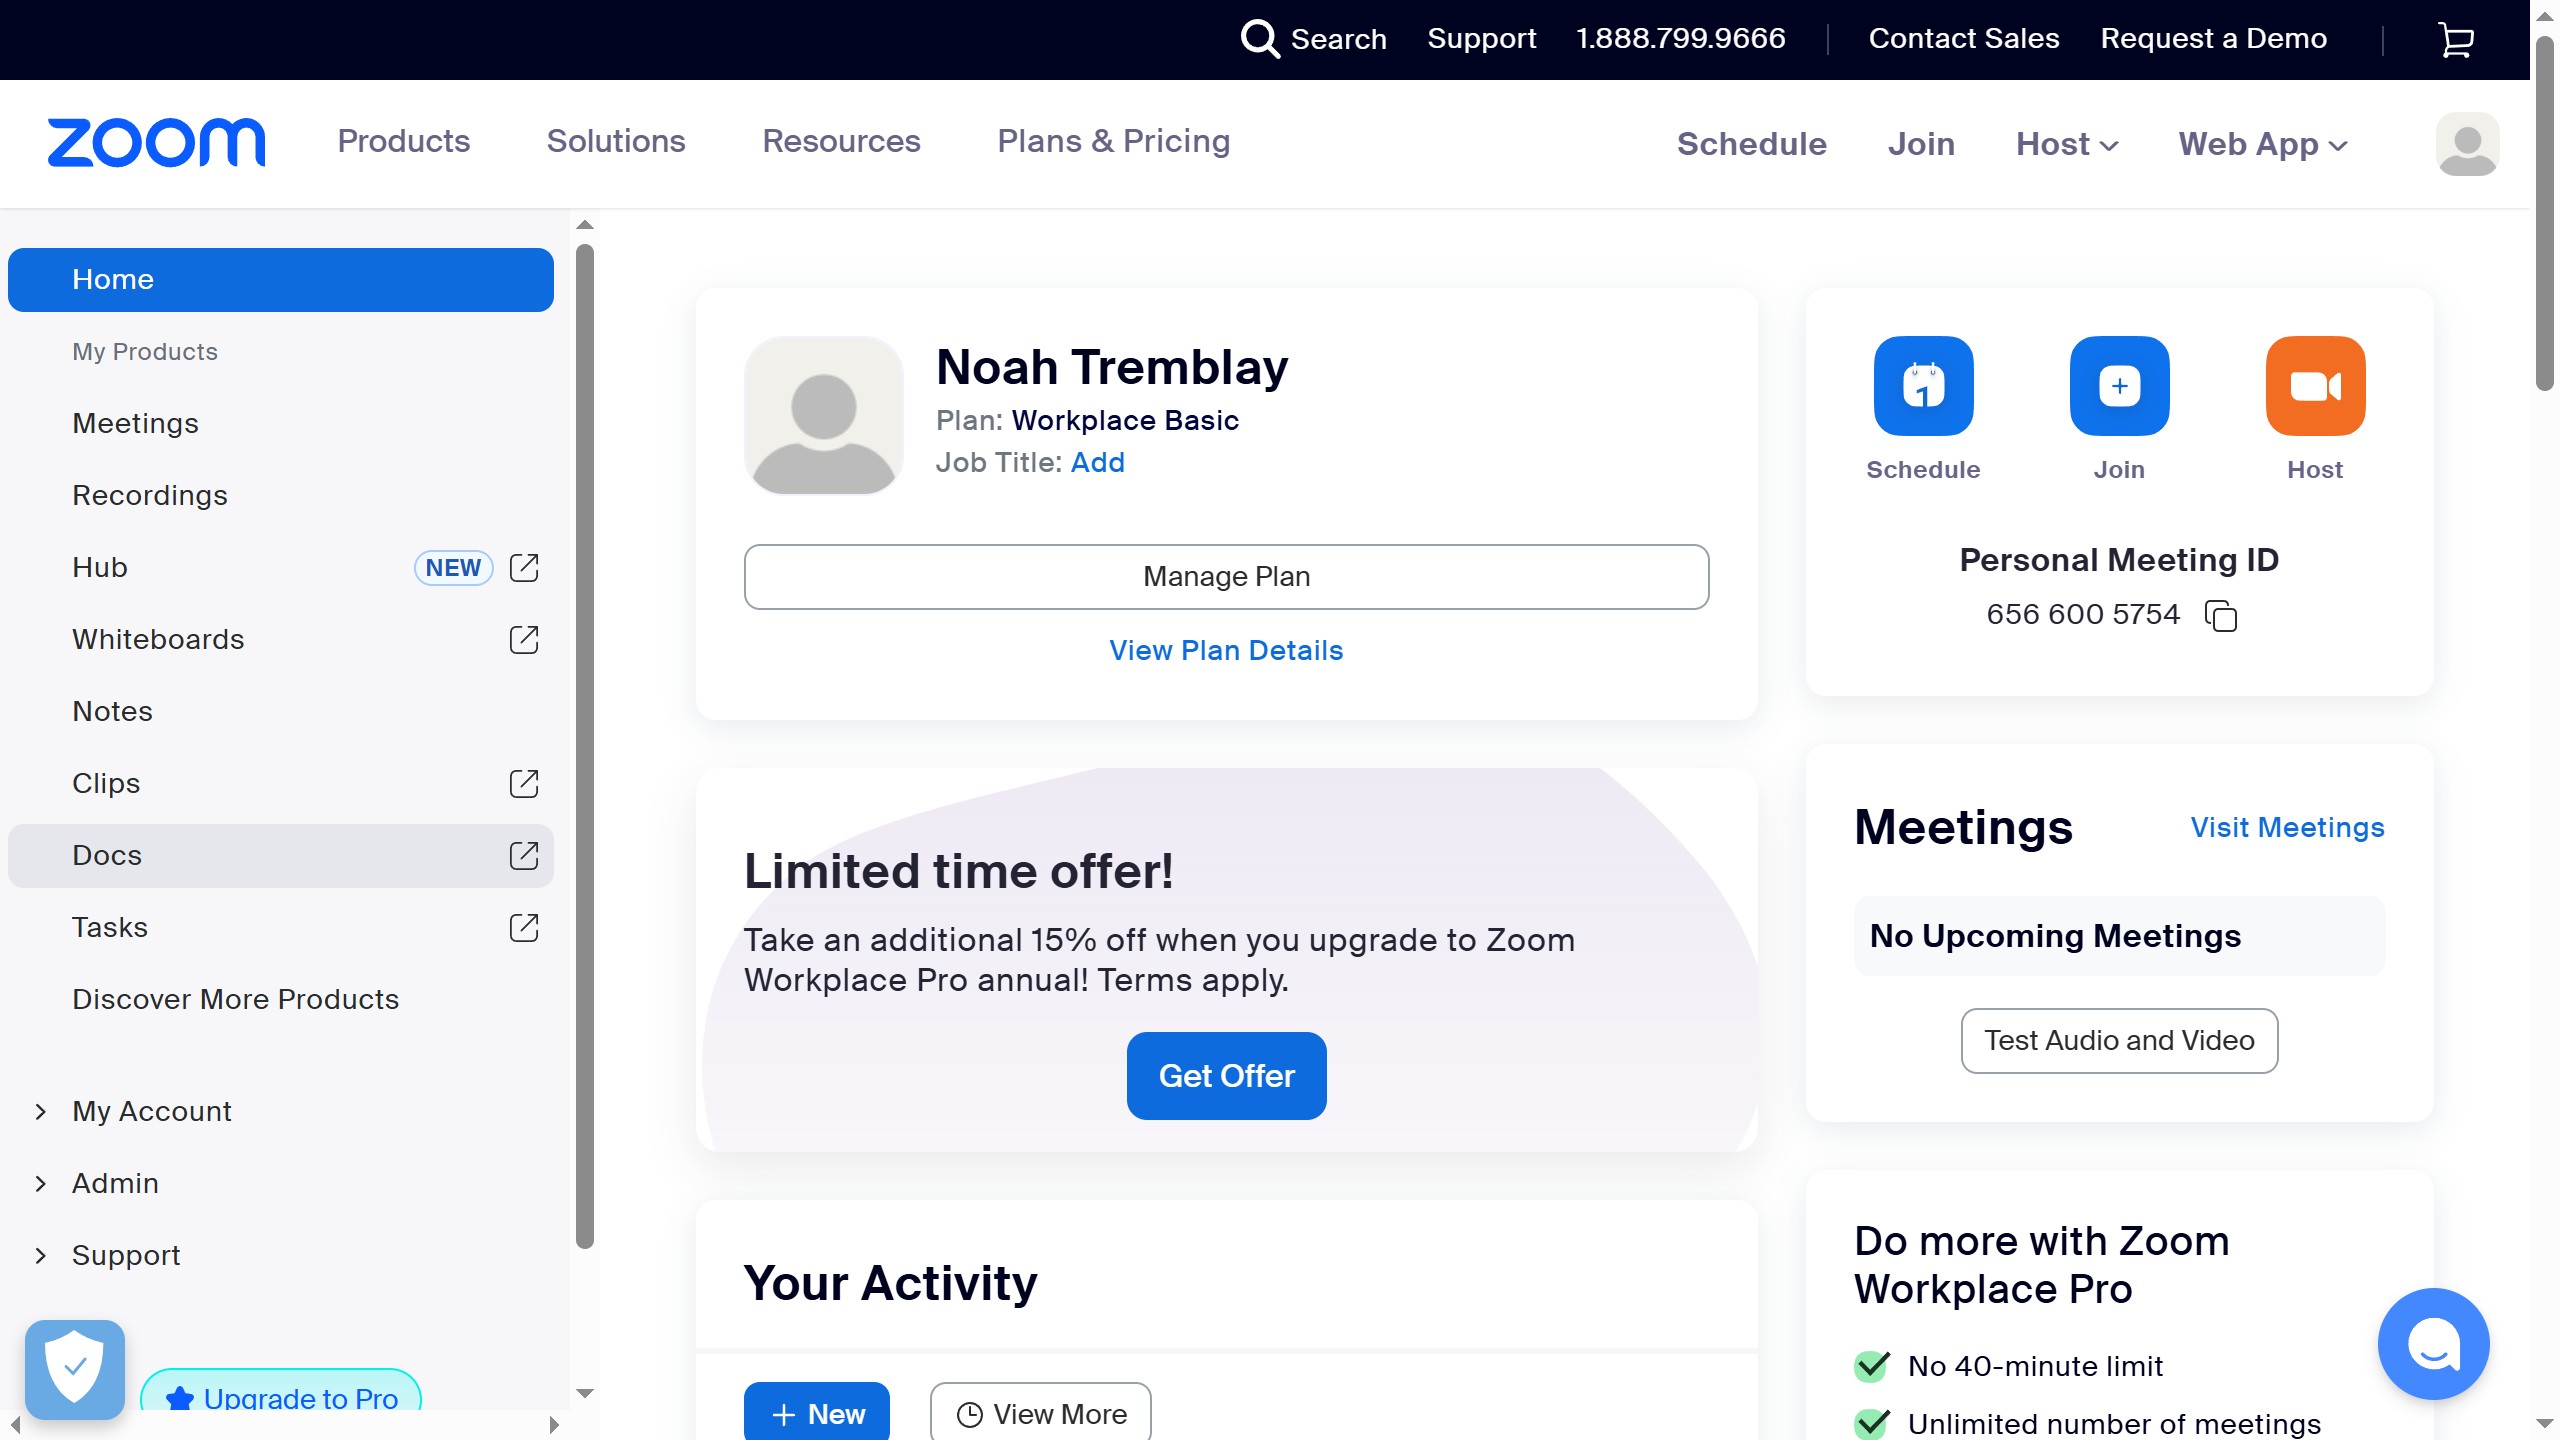
First, log in to your Zoom account. On the main dashboard, locate and click the 'Docs' option in the left-hand navigation panel. This will take you to your Zoom Docs overview.
- Open Your Document
Once in Zoom Docs, find and open the specific document that contains the table you want to edit. You can typically find recent documents or browse through your files.
- Select the Table
Inside your document, click on the table itself. This action will select the table and make the table-specific editing toolbar visible.
- Insert a New Column
With the table selected, look for the toolbar that appears. Click the icon that represents 'Insert column' to add a new column to your table.
- Verify the New Column
After clicking the 'Insert column' icon, a new column will instantly appear in your table, expanding its structure. You can now add data to this new column.
Your turn to show how it works.
Build a walkthrough of your product with Saltfish, then share it with your customers.
Frequently Asked Questions
The 'Docs' option is located in the left sidebar menu on your Zoom homepage, below other navigation links like 'Home' and 'Meetings'.
 Zoom
Zoom
