How to Add an Attachment to a Task in Zoom
In this article
This guide will walk you through the process of adding an attachment to a task in Zoom, helping you keep all relevant files and documents organized within your task management system.
Explore more Zoom tutorials with interactive Saltfish walkthroughs.
Here's how to add an attachment to a task in Zoom
- Access the Tasks Section
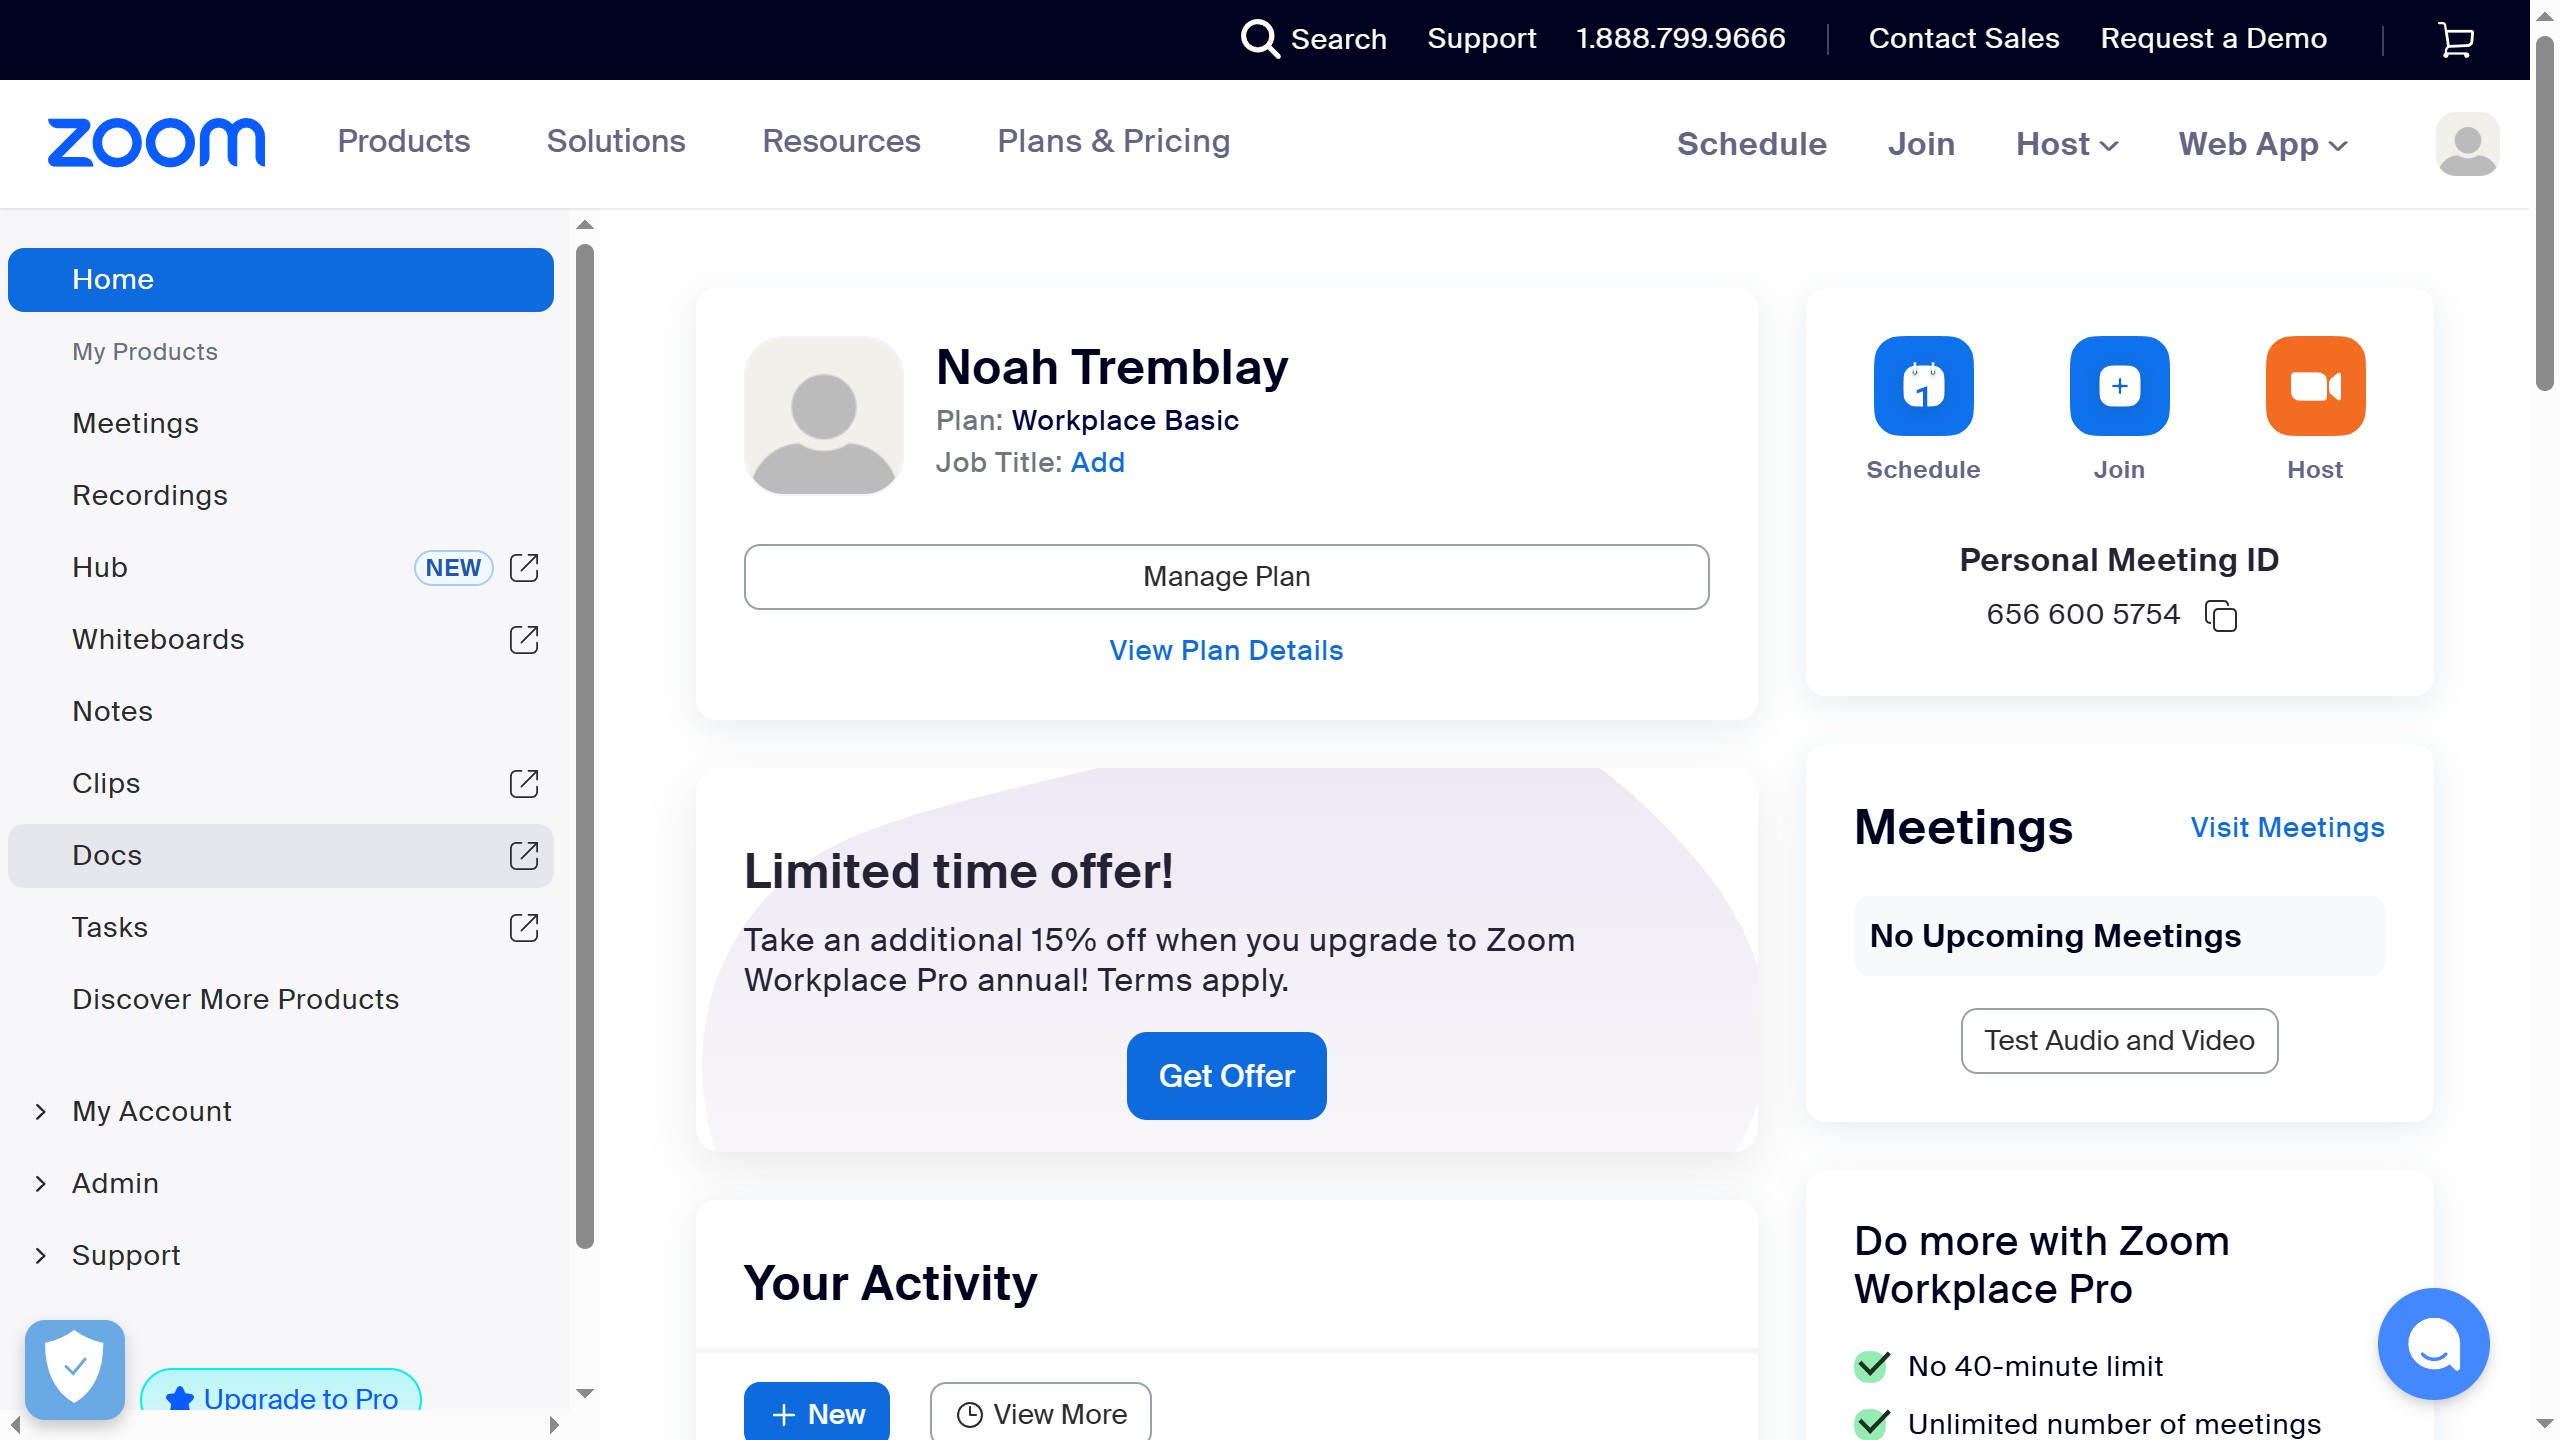
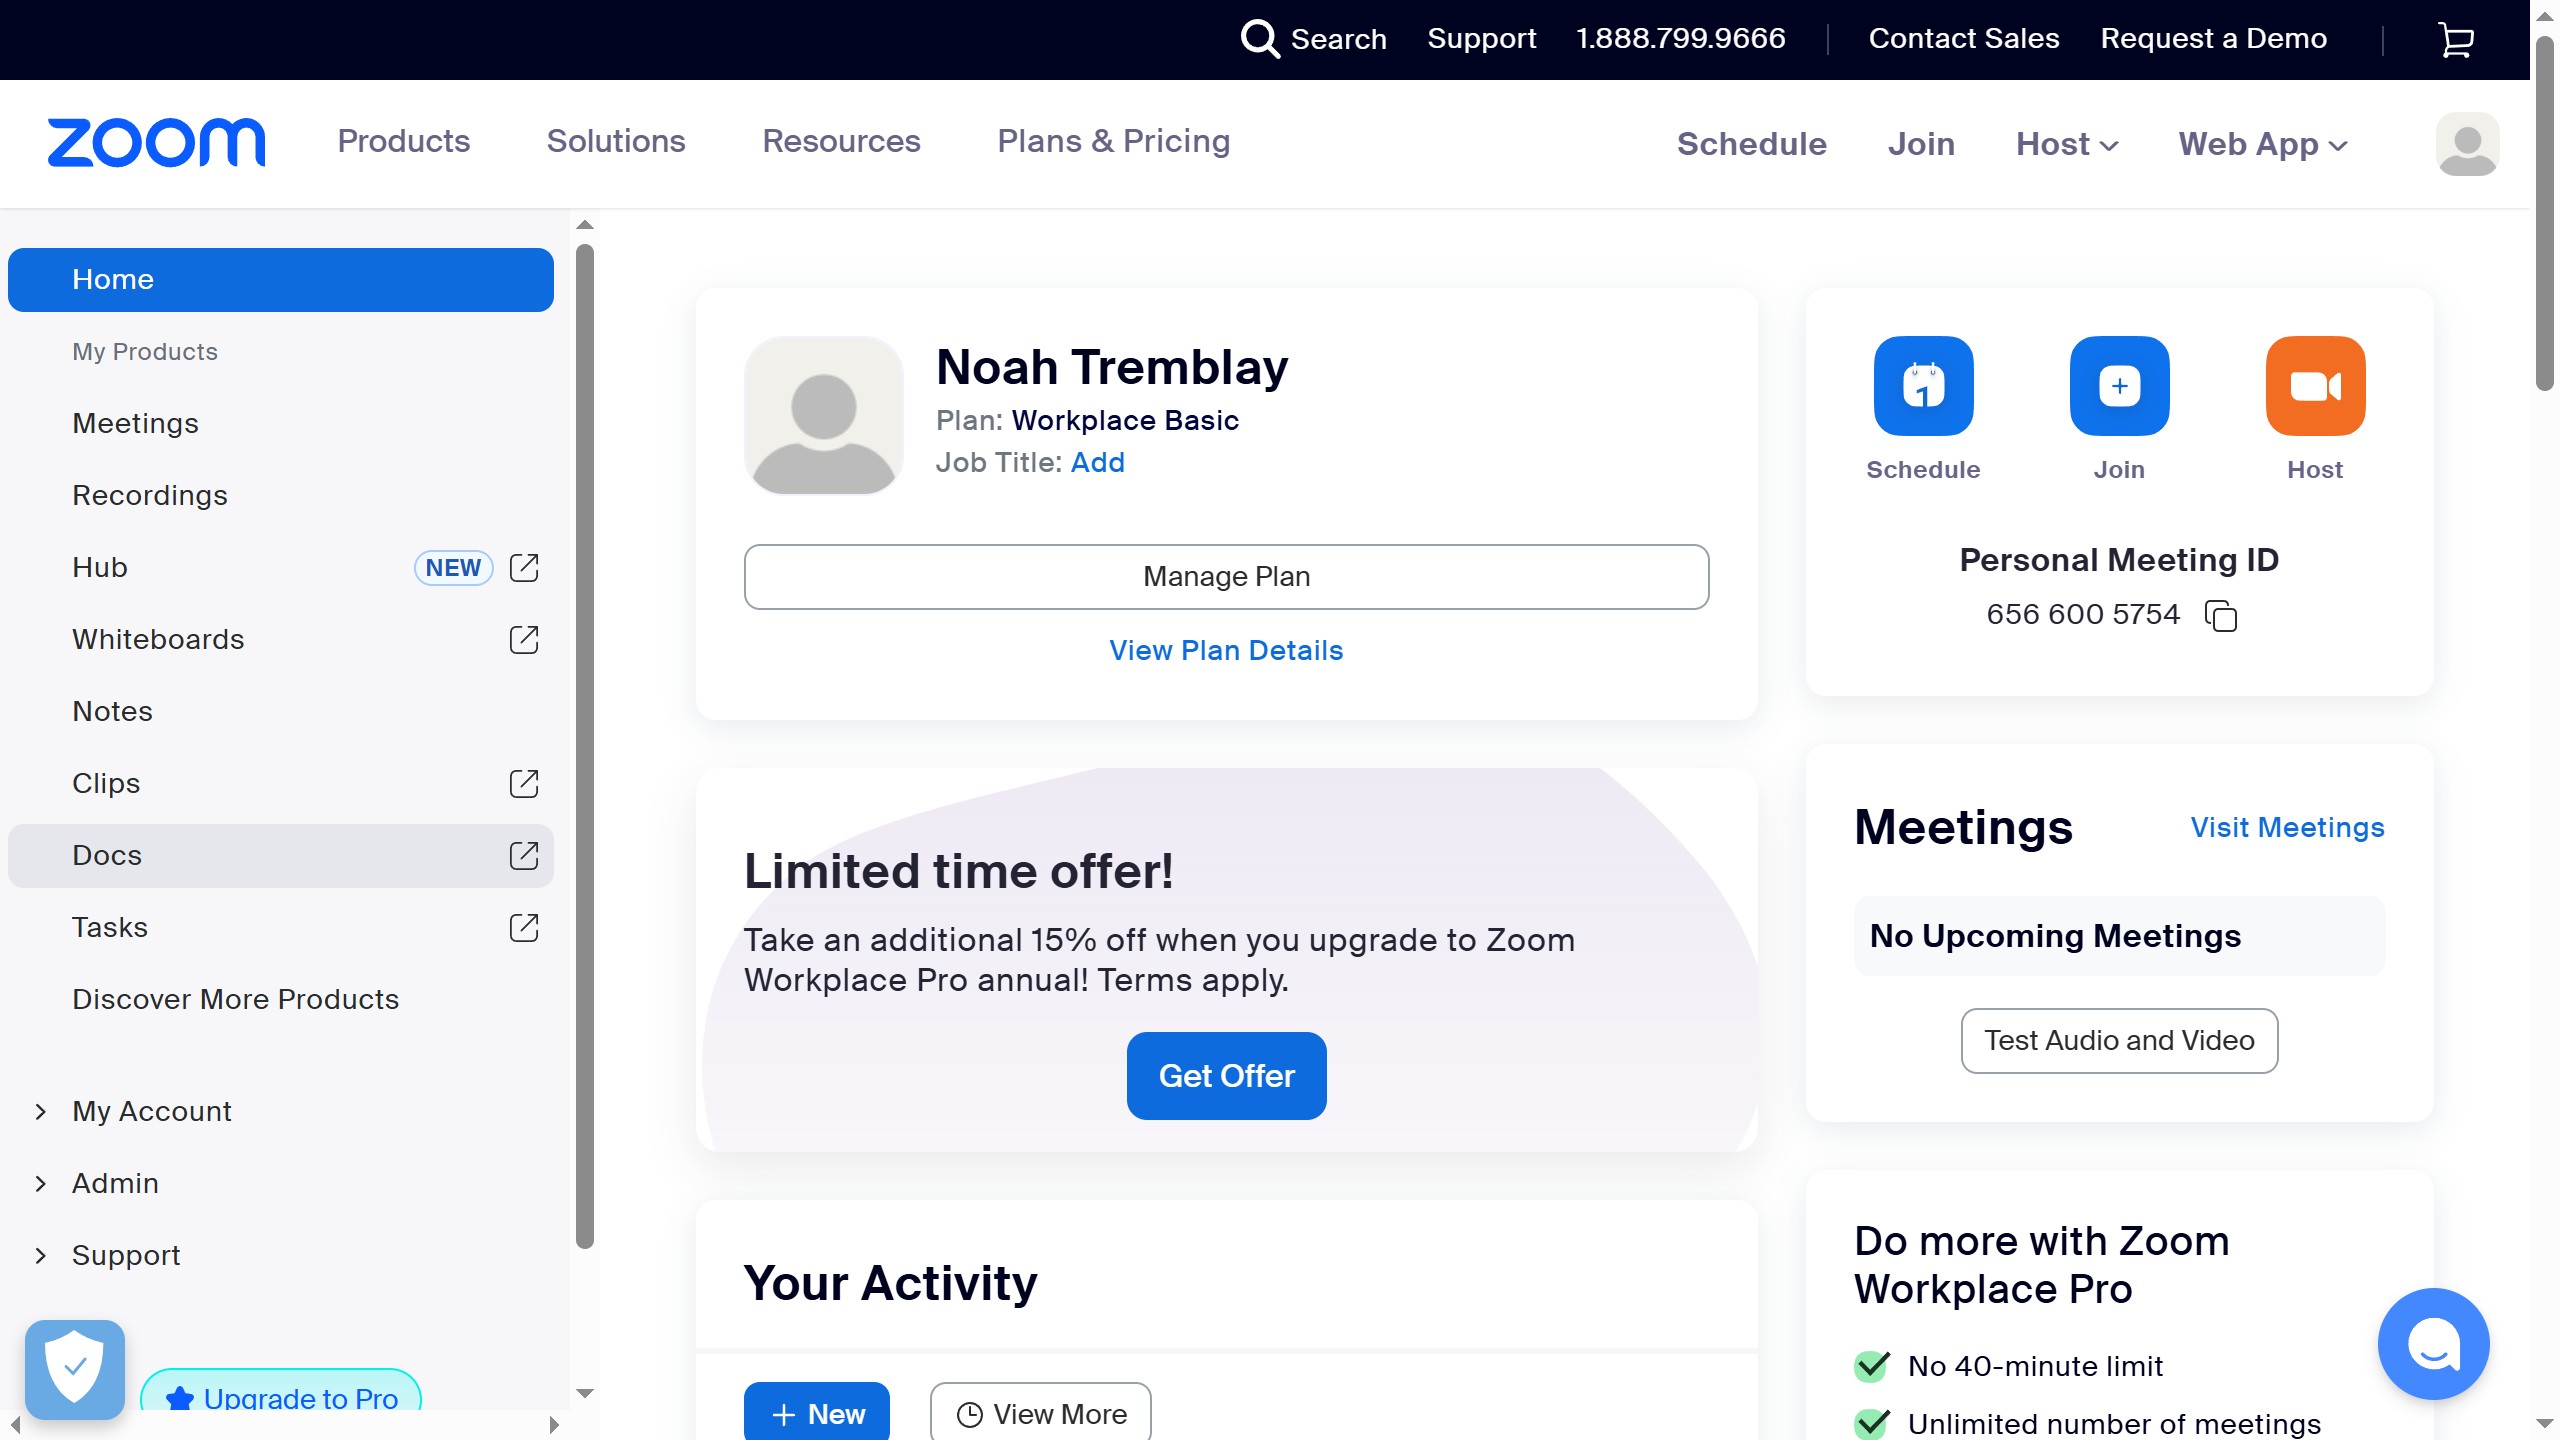
Navigate to your Zoom dashboard and locate the "Tasks" option in the left sidebar. Click on it to proceed to the task management area.
- View Your Tasks
On the Tasks page, select "My tasks" from the left panel. This will display a list of all tasks assigned to you.
- Choose a Task to Edit
From your task list, click on the specific task to open its detailed view. This panel allows you to manage various aspects of the task.
- Initiate Attachment Upload
Within the task details panel, find and click on the "Attachments" option. This action will typically open a file selection dialog.
- Upload Your File
Browse your device for the file you wish to attach to the task. Select the file and confirm the upload to link it to your task.
- Confirm Attachment
After a successful upload, the name of your attached file will be listed under the "Attachments" section in the task's details panel.
Your turn to show how it works.
Build a walkthrough of your product with Saltfish, then share it with your customers.
Frequently Asked Questions
The "Tasks" section is located in the left sidebar navigation menu on your Zoom dashboard, typically below other product categories like Meetings and Recordings.

 Zoom
Zoom