
How to Align Flex Children in Webflow
In this article
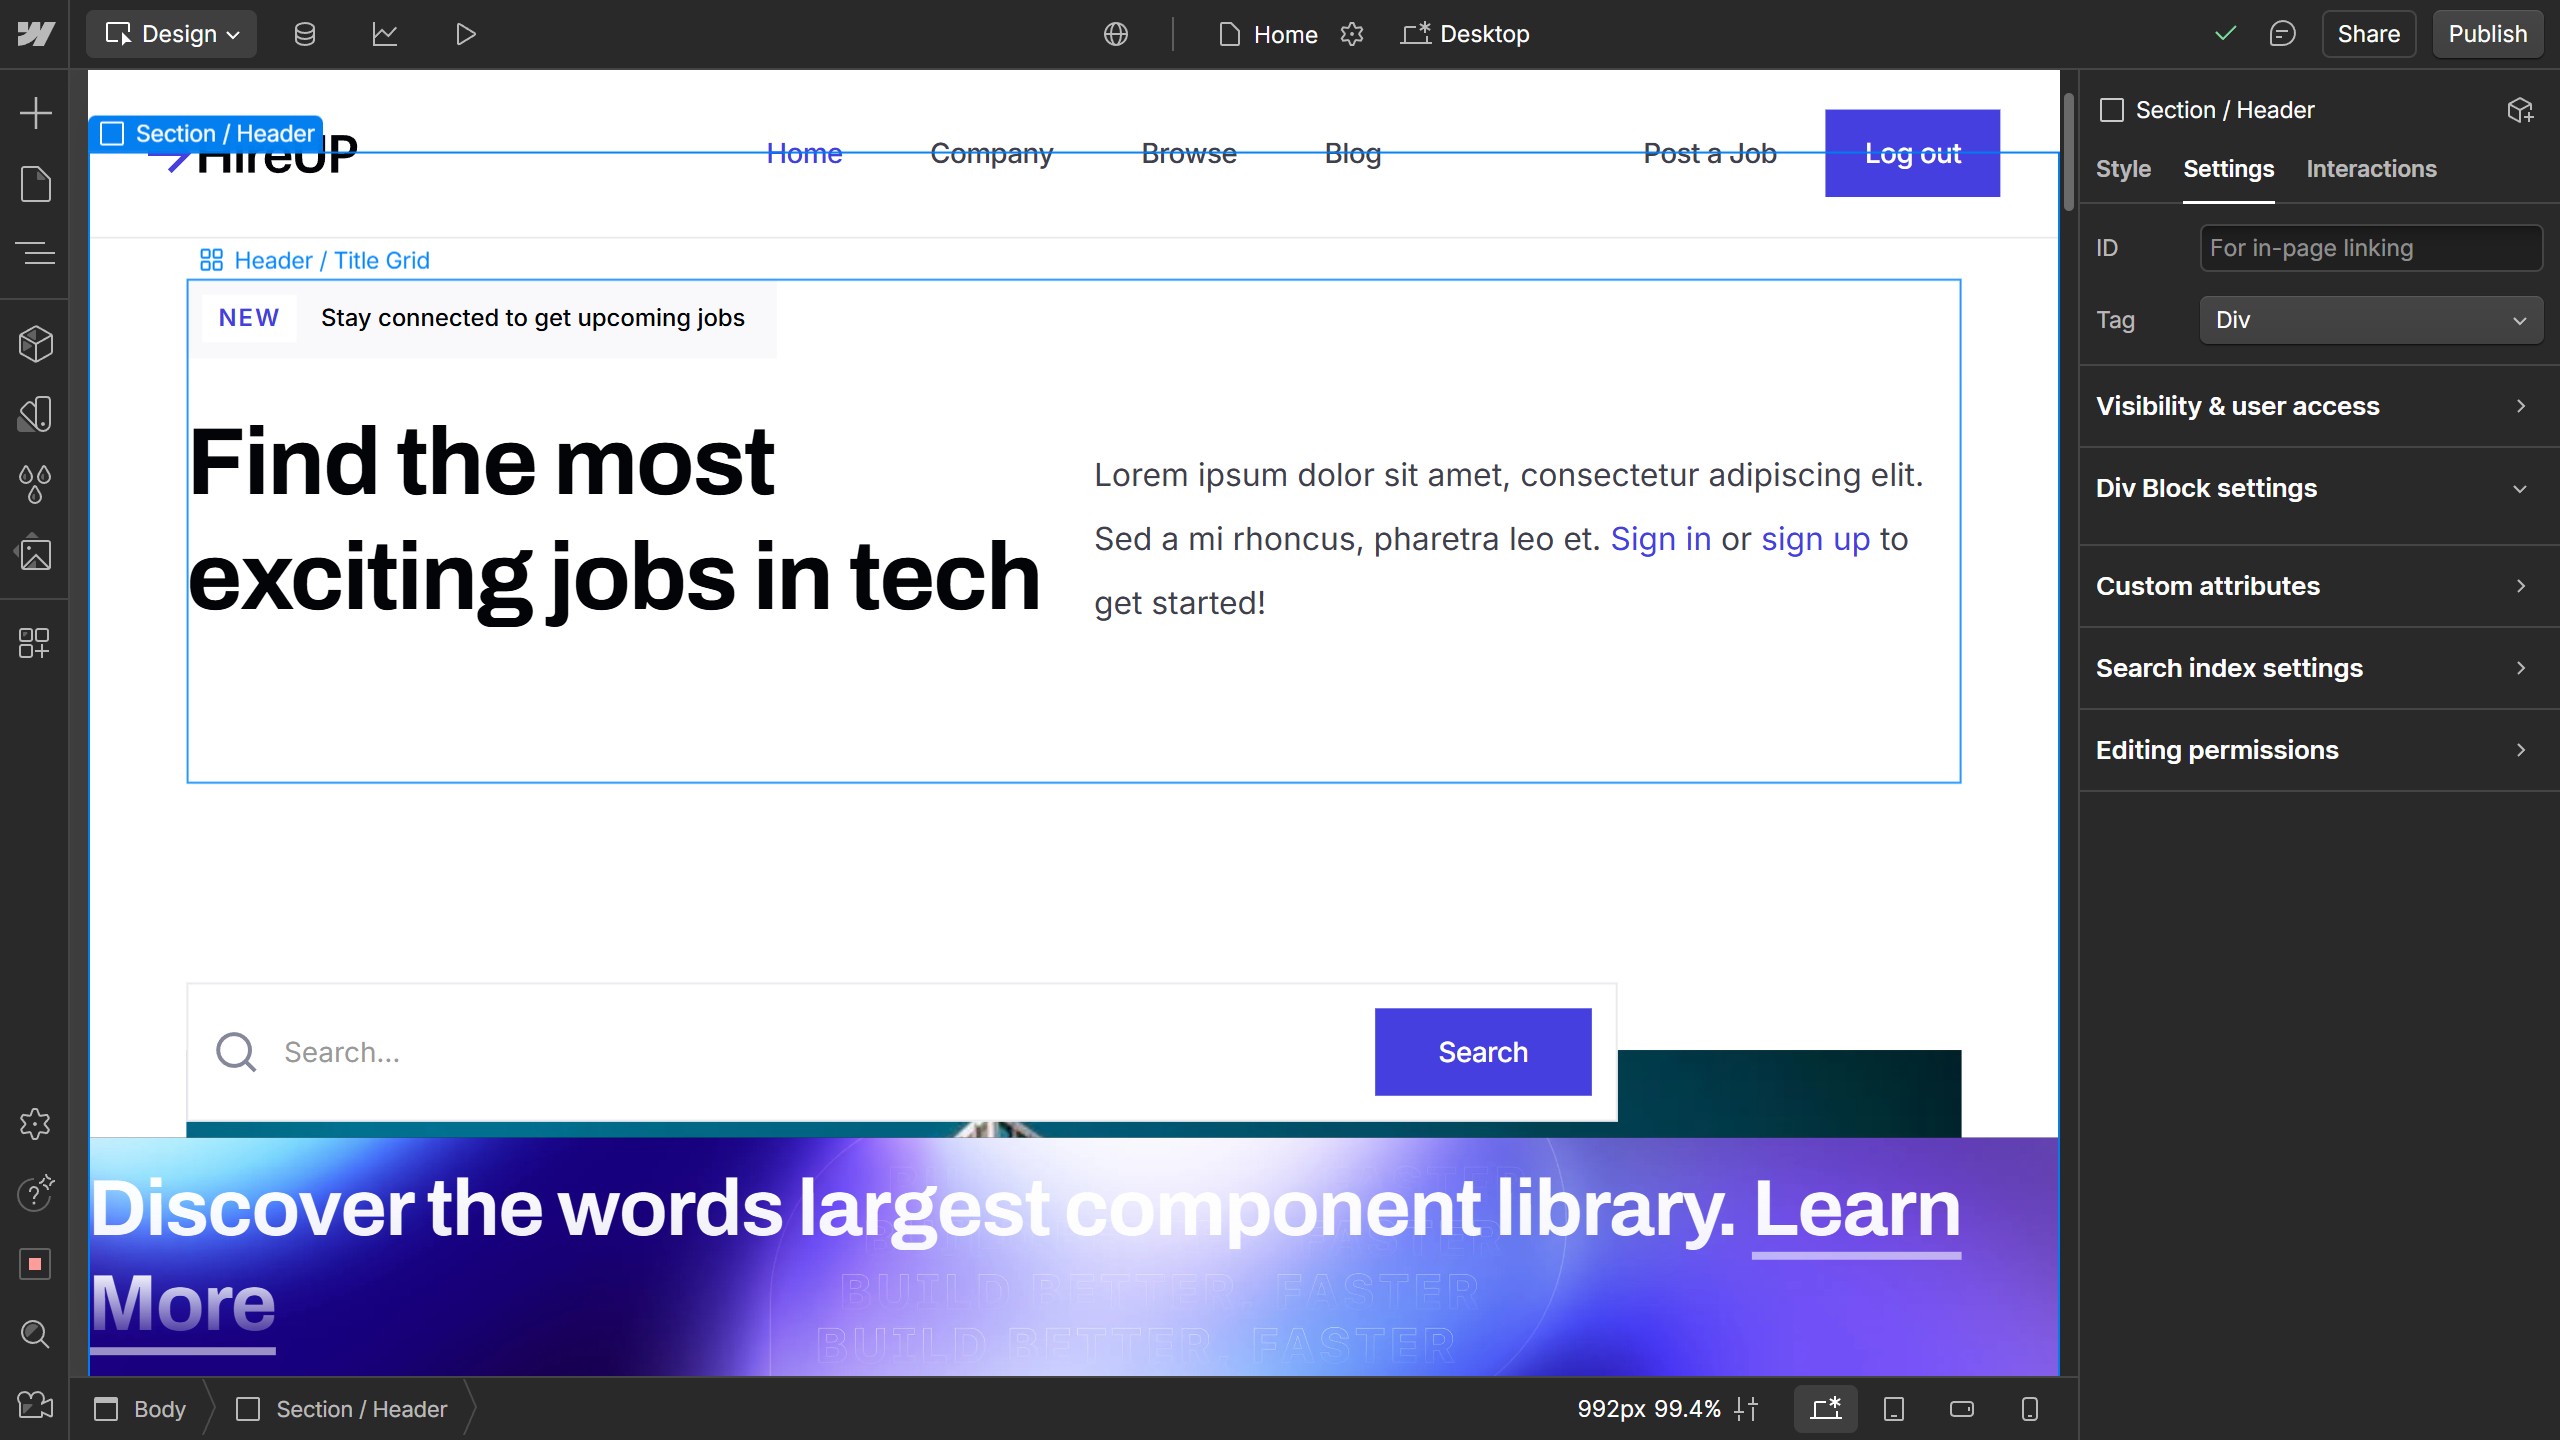
This guide will show you how to align flex children within a container in Webflow, allowing you to precisely control their positioning and layout.
Explore more Webflow tutorials with interactive Saltfish walkthroughs.
Here's how to align flex children in Webflow
- Select the Flex Container
Begin by selecting the specific container element on your Webflow canvas that is set to 'Flex' display and holds the children you want to align. This ensures you are applying alignment settings to the correct parent element.
- Access the Style Panel
Once your flex container is selected, navigate to the right-hand sidebar. Click on the **Style** tab to open the comprehensive styling options available for your element.
- Locate Layout Settings
Within the Style panel, scroll down until you find the **Layout** section. This section contains various display properties, including the crucial alignment controls for flex elements.
- Choose Horizontal Alignment
In the **Align** section under Layout, you will see options for horizontal alignment. Select your preferred option, such as Left, Center, or Right, to arrange your flex children along the main axis.
- Choose Vertical Alignment
Still within the **Align** section, select your desired vertical alignment option, such as Top, Center, or Bottom. This will position your flex children along the cross axis within the container.
Your turn to show how it works.
Build a walkthrough of your product with Saltfish, then share it with your customers.
Frequently Asked Questions
A flex container is an element in Webflow whose display property is set to 'Flex'. This allows its direct child elements (flex items) to be arranged and aligned dynamically within it.
 Webflow

