
How to Add the ONLYOFFICE Power-Up to a Trello Board
In this article
Enhance your Trello boards with the ONLYOFFICE Power-Up to integrate document editing capabilities directly into your workflow. This guide will walk you through the steps to add this Power-Up to any of your Trello boards.
Explore more Trello tutorials with interactive Saltfish walkthroughs.
Here's how to add the onlyoffice power-up to a trello board in Trello
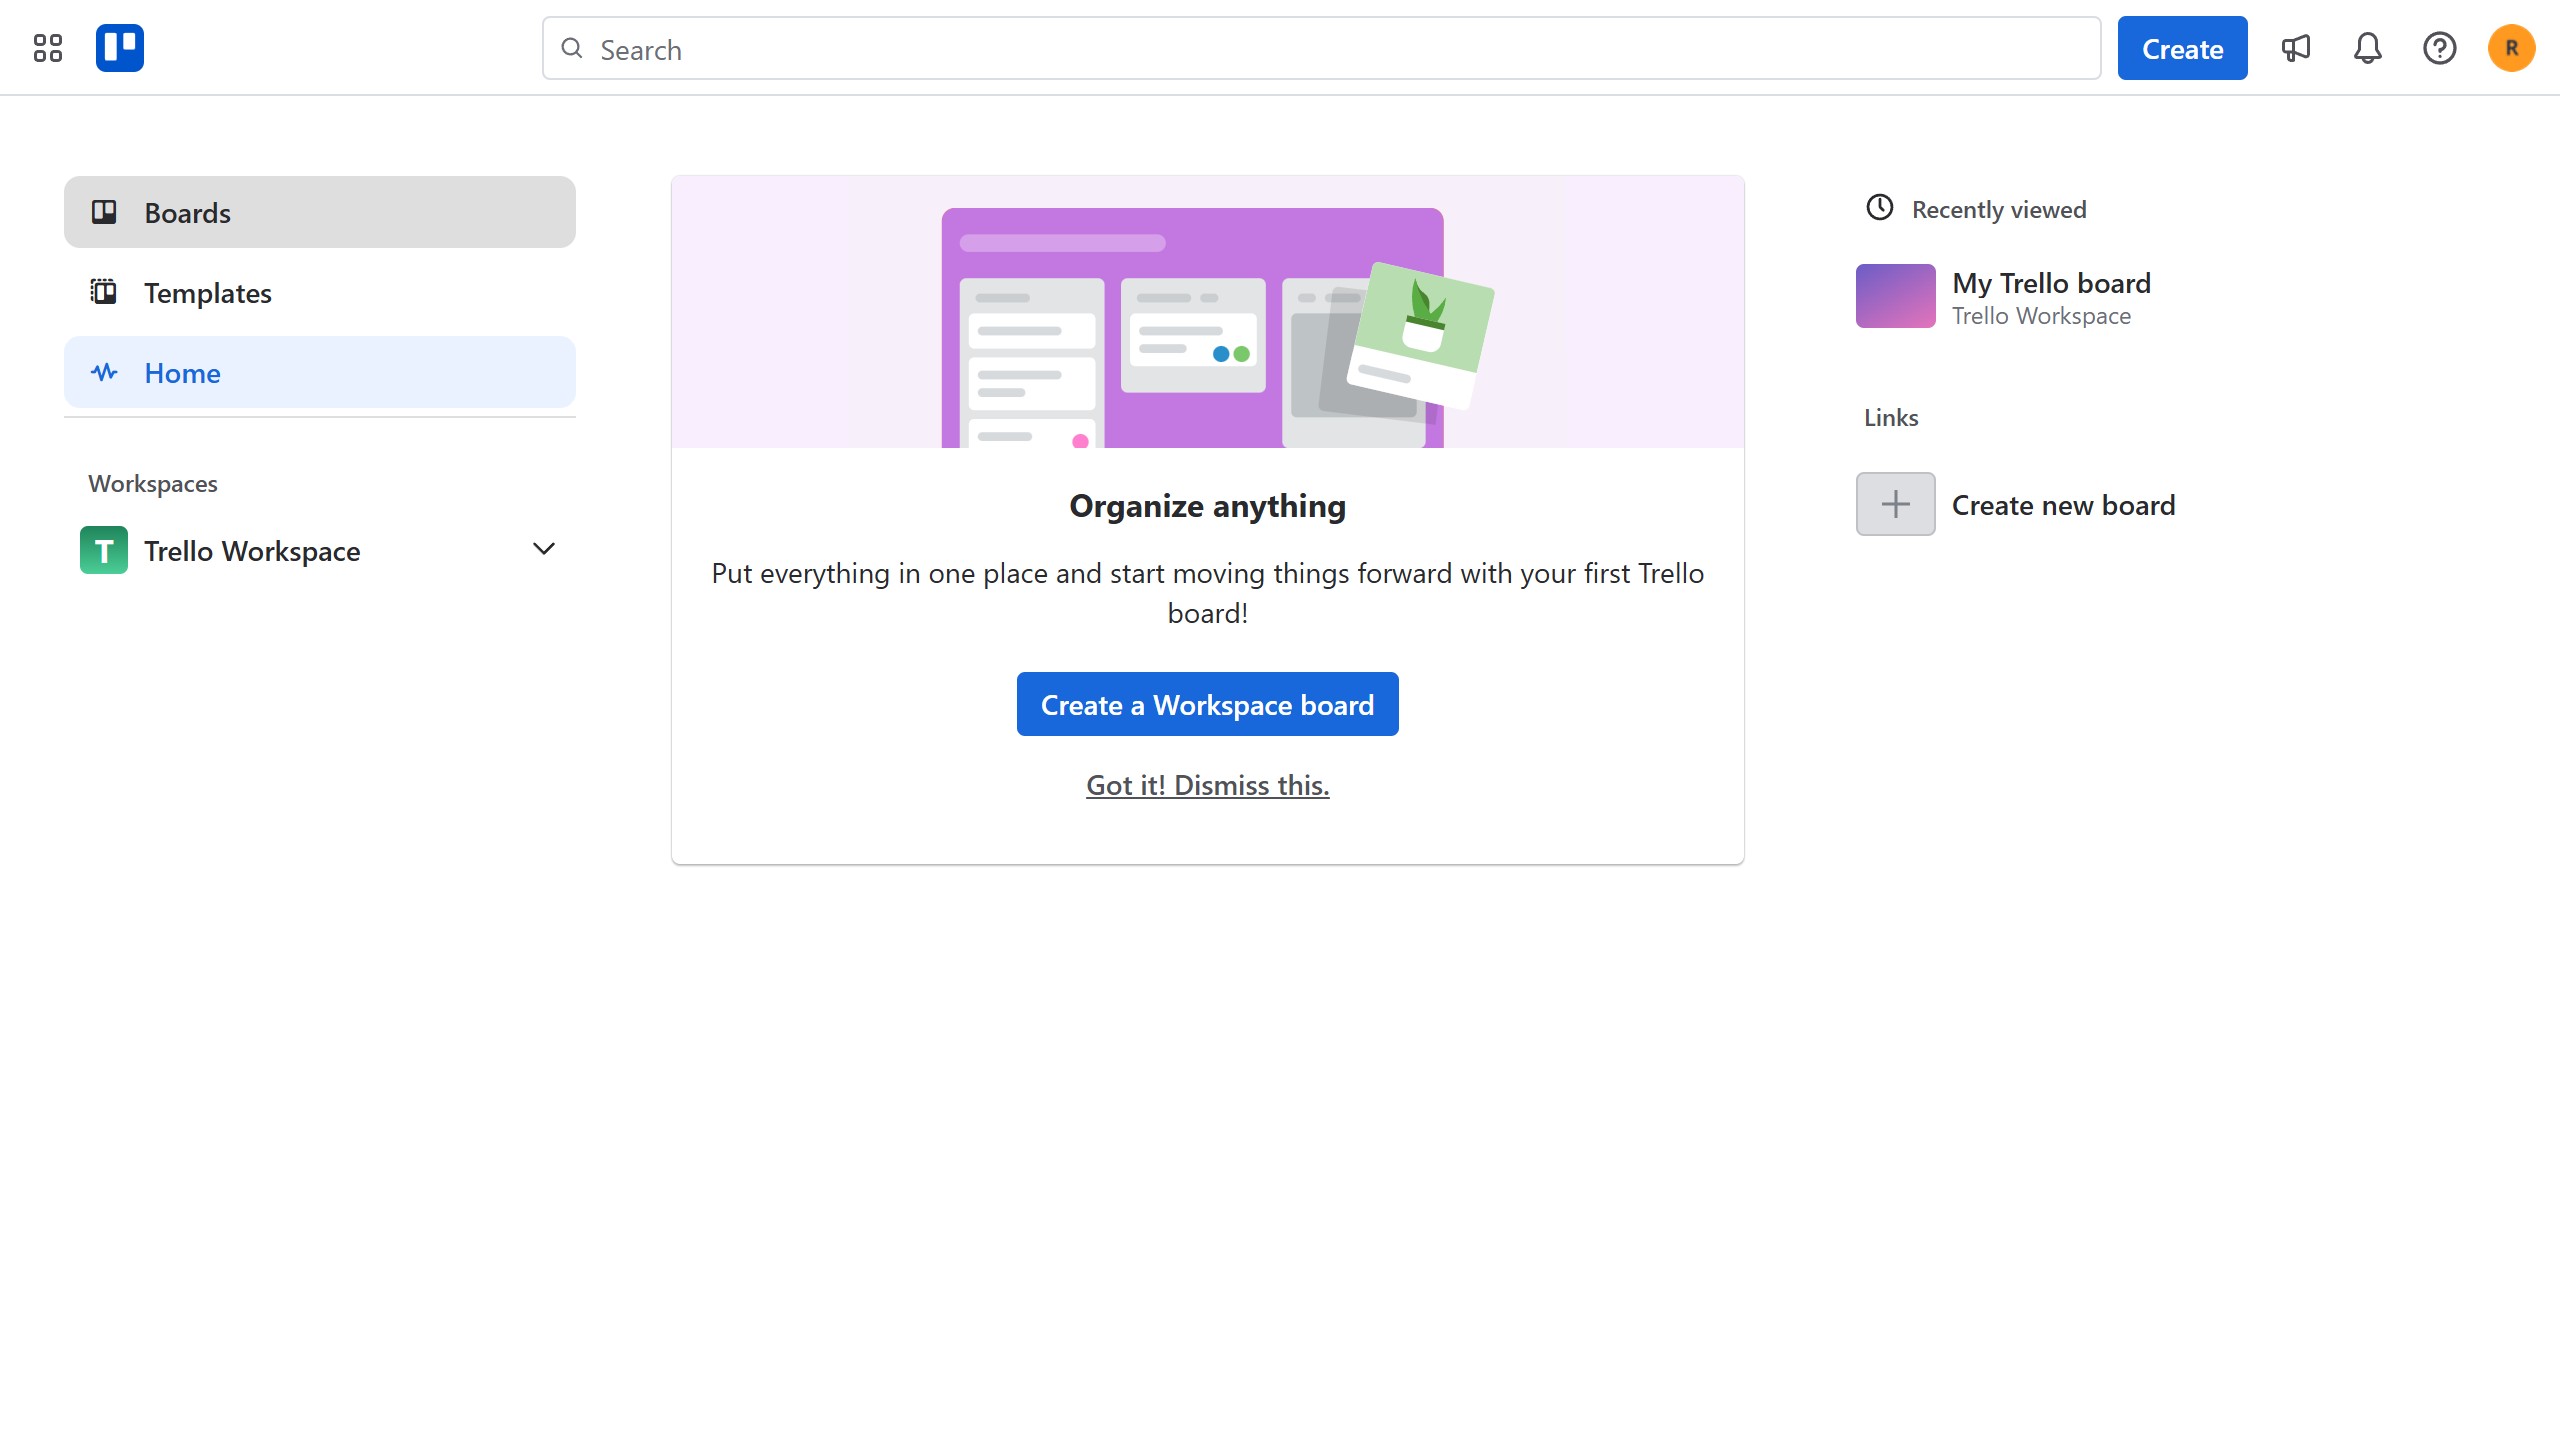
- Navigate to Your Boards
From your Trello home screen, click on the "Boards" option in the left sidebar. This will display all your available Trello boards.
- Open a Trello Board
Select the specific Trello board where you wish to add the ONLYOFFICE Power-Up. Click on the board's title or image to open it.
- Access the Board Menu
Once inside your chosen board, locate and click the "More" menu button, represented by three dots, in the top right corner of the board interface.
- Go to Power-Ups
From the opened board menu, find and click on the "Power-Ups" option. This action will take you to the Power-Ups marketplace.
- Find ONLYOFFICE
In the Power-Ups marketplace, click on the "Communication & collaboration" category in the left sidebar. Then, locate the ONLYOFFICE Power-Up in the list.
- Add the Power-Up
Click the "Add" button next to the ONLYOFFICE Power-Up. A confirmation dialog will appear, asking you to confirm the installation.
- Confirm Installation
In the confirmation dialog, click the blue "Add" button to finalize the installation. The ONLYOFFICE Power-Up will now be enabled on your Trello board.
Your turn to show how it works.
Build a walkthrough of your product with Saltfish, then share it with your customers.
Frequently Asked Questions
After clicking the final 'Add' button, the Power-Ups window will show ONLYOFFICE listed with an 'Enabled' status, confirming its successful addition to your board.
 Trello

